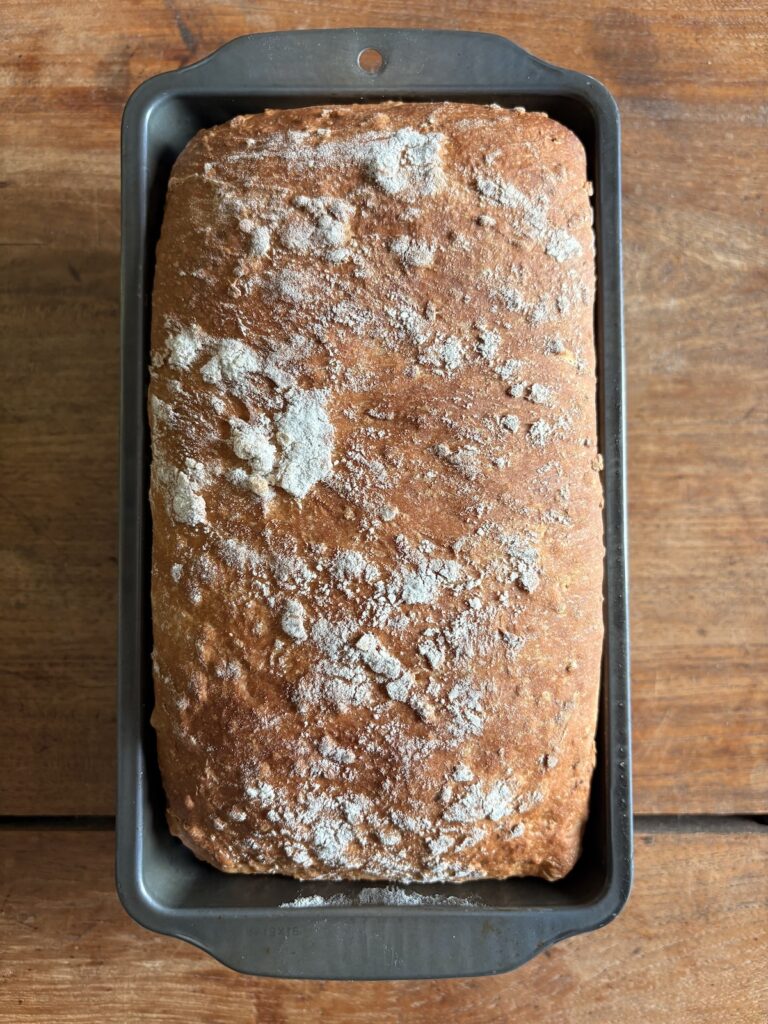
Rustic No-Knead Small Batch Ciabatta Rolls
Last updated on July 2nd, 2026
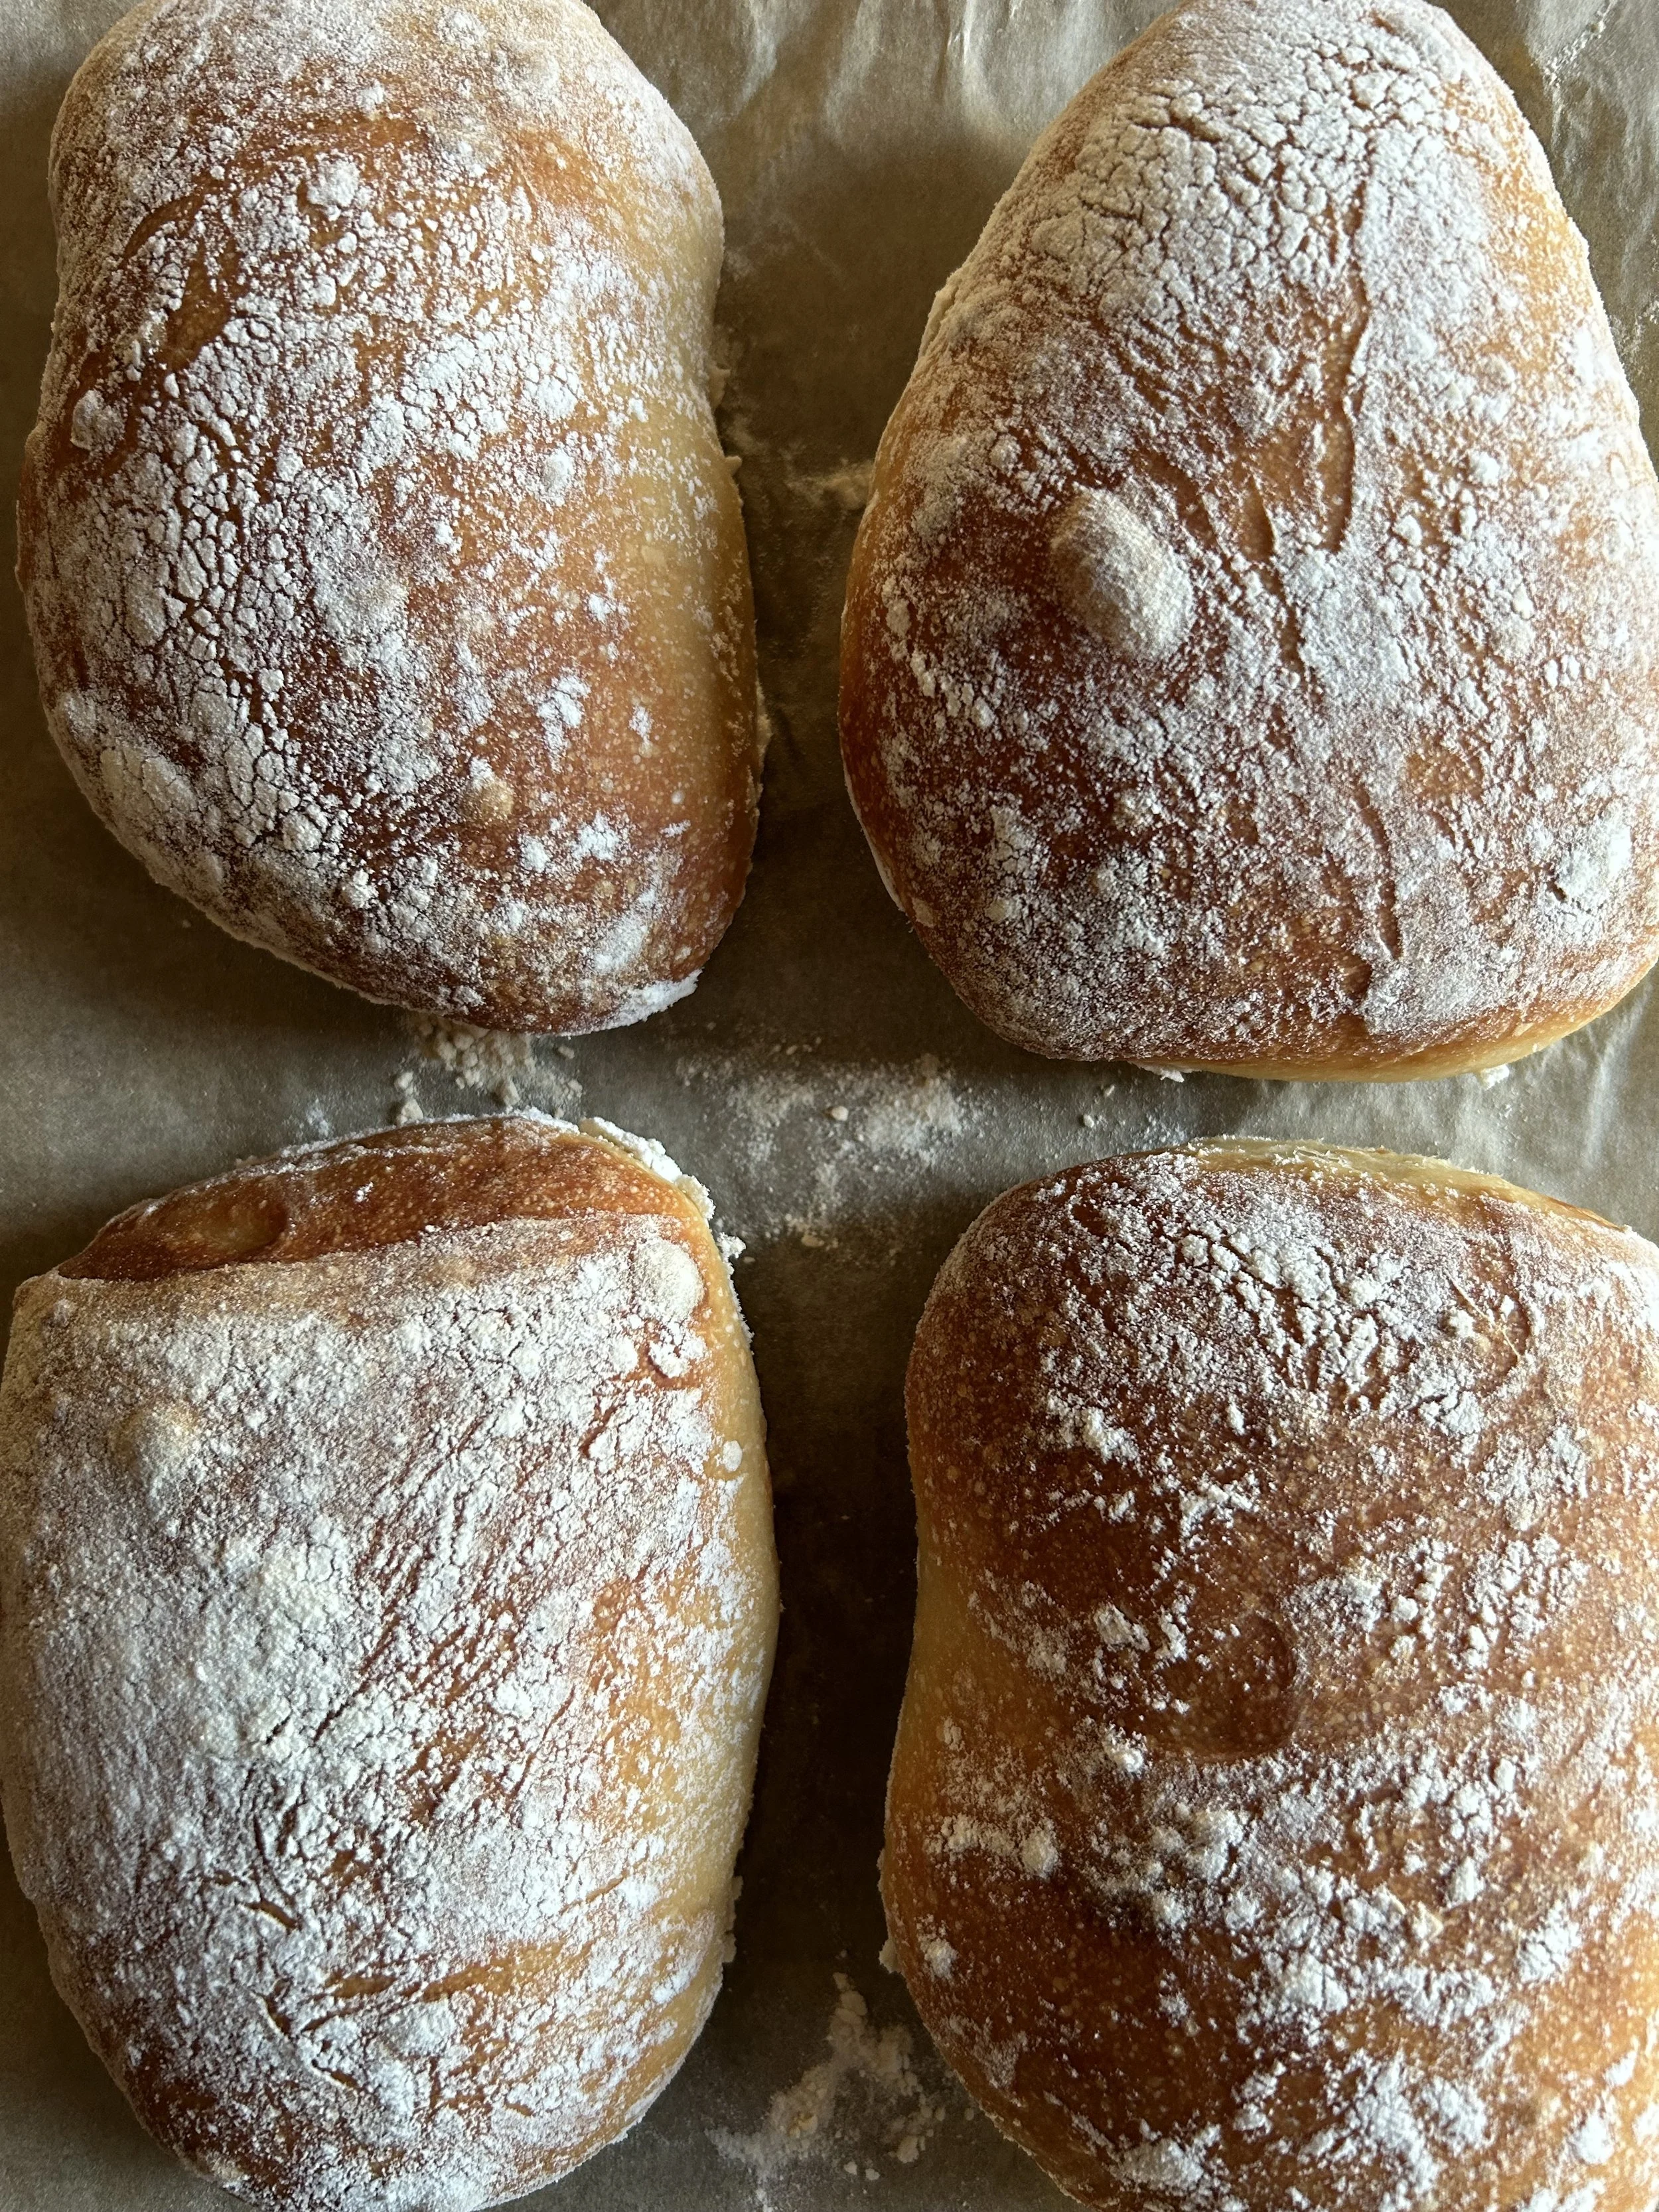
Beginner-friendly, these overnight Rustic No-Knead Small Batch Ciabatta Rolls are light and fluffy with a thin, crispy crust and an open, airy crumb. If pressed for time, I’ve included notes to have them baked in as little as 4 hours.
What is Ciabatta?
Ciabatta is a flat, elongated rustic white bread created in Italy. It has a high water content, giving it a lighter, crispy texture that’s a little softer and less chewy than many artisan breads.
Here’s everything you’ll need to make these No-Knead Small Batch Ciabatta Rolls
- All-purpose flour
- Water
- Kosher or fine sea salt
- Active dry yeast
- Extra-virgin olive oil
A few helpful tips for making No-Knead Small Batch Ciabatta Rolls
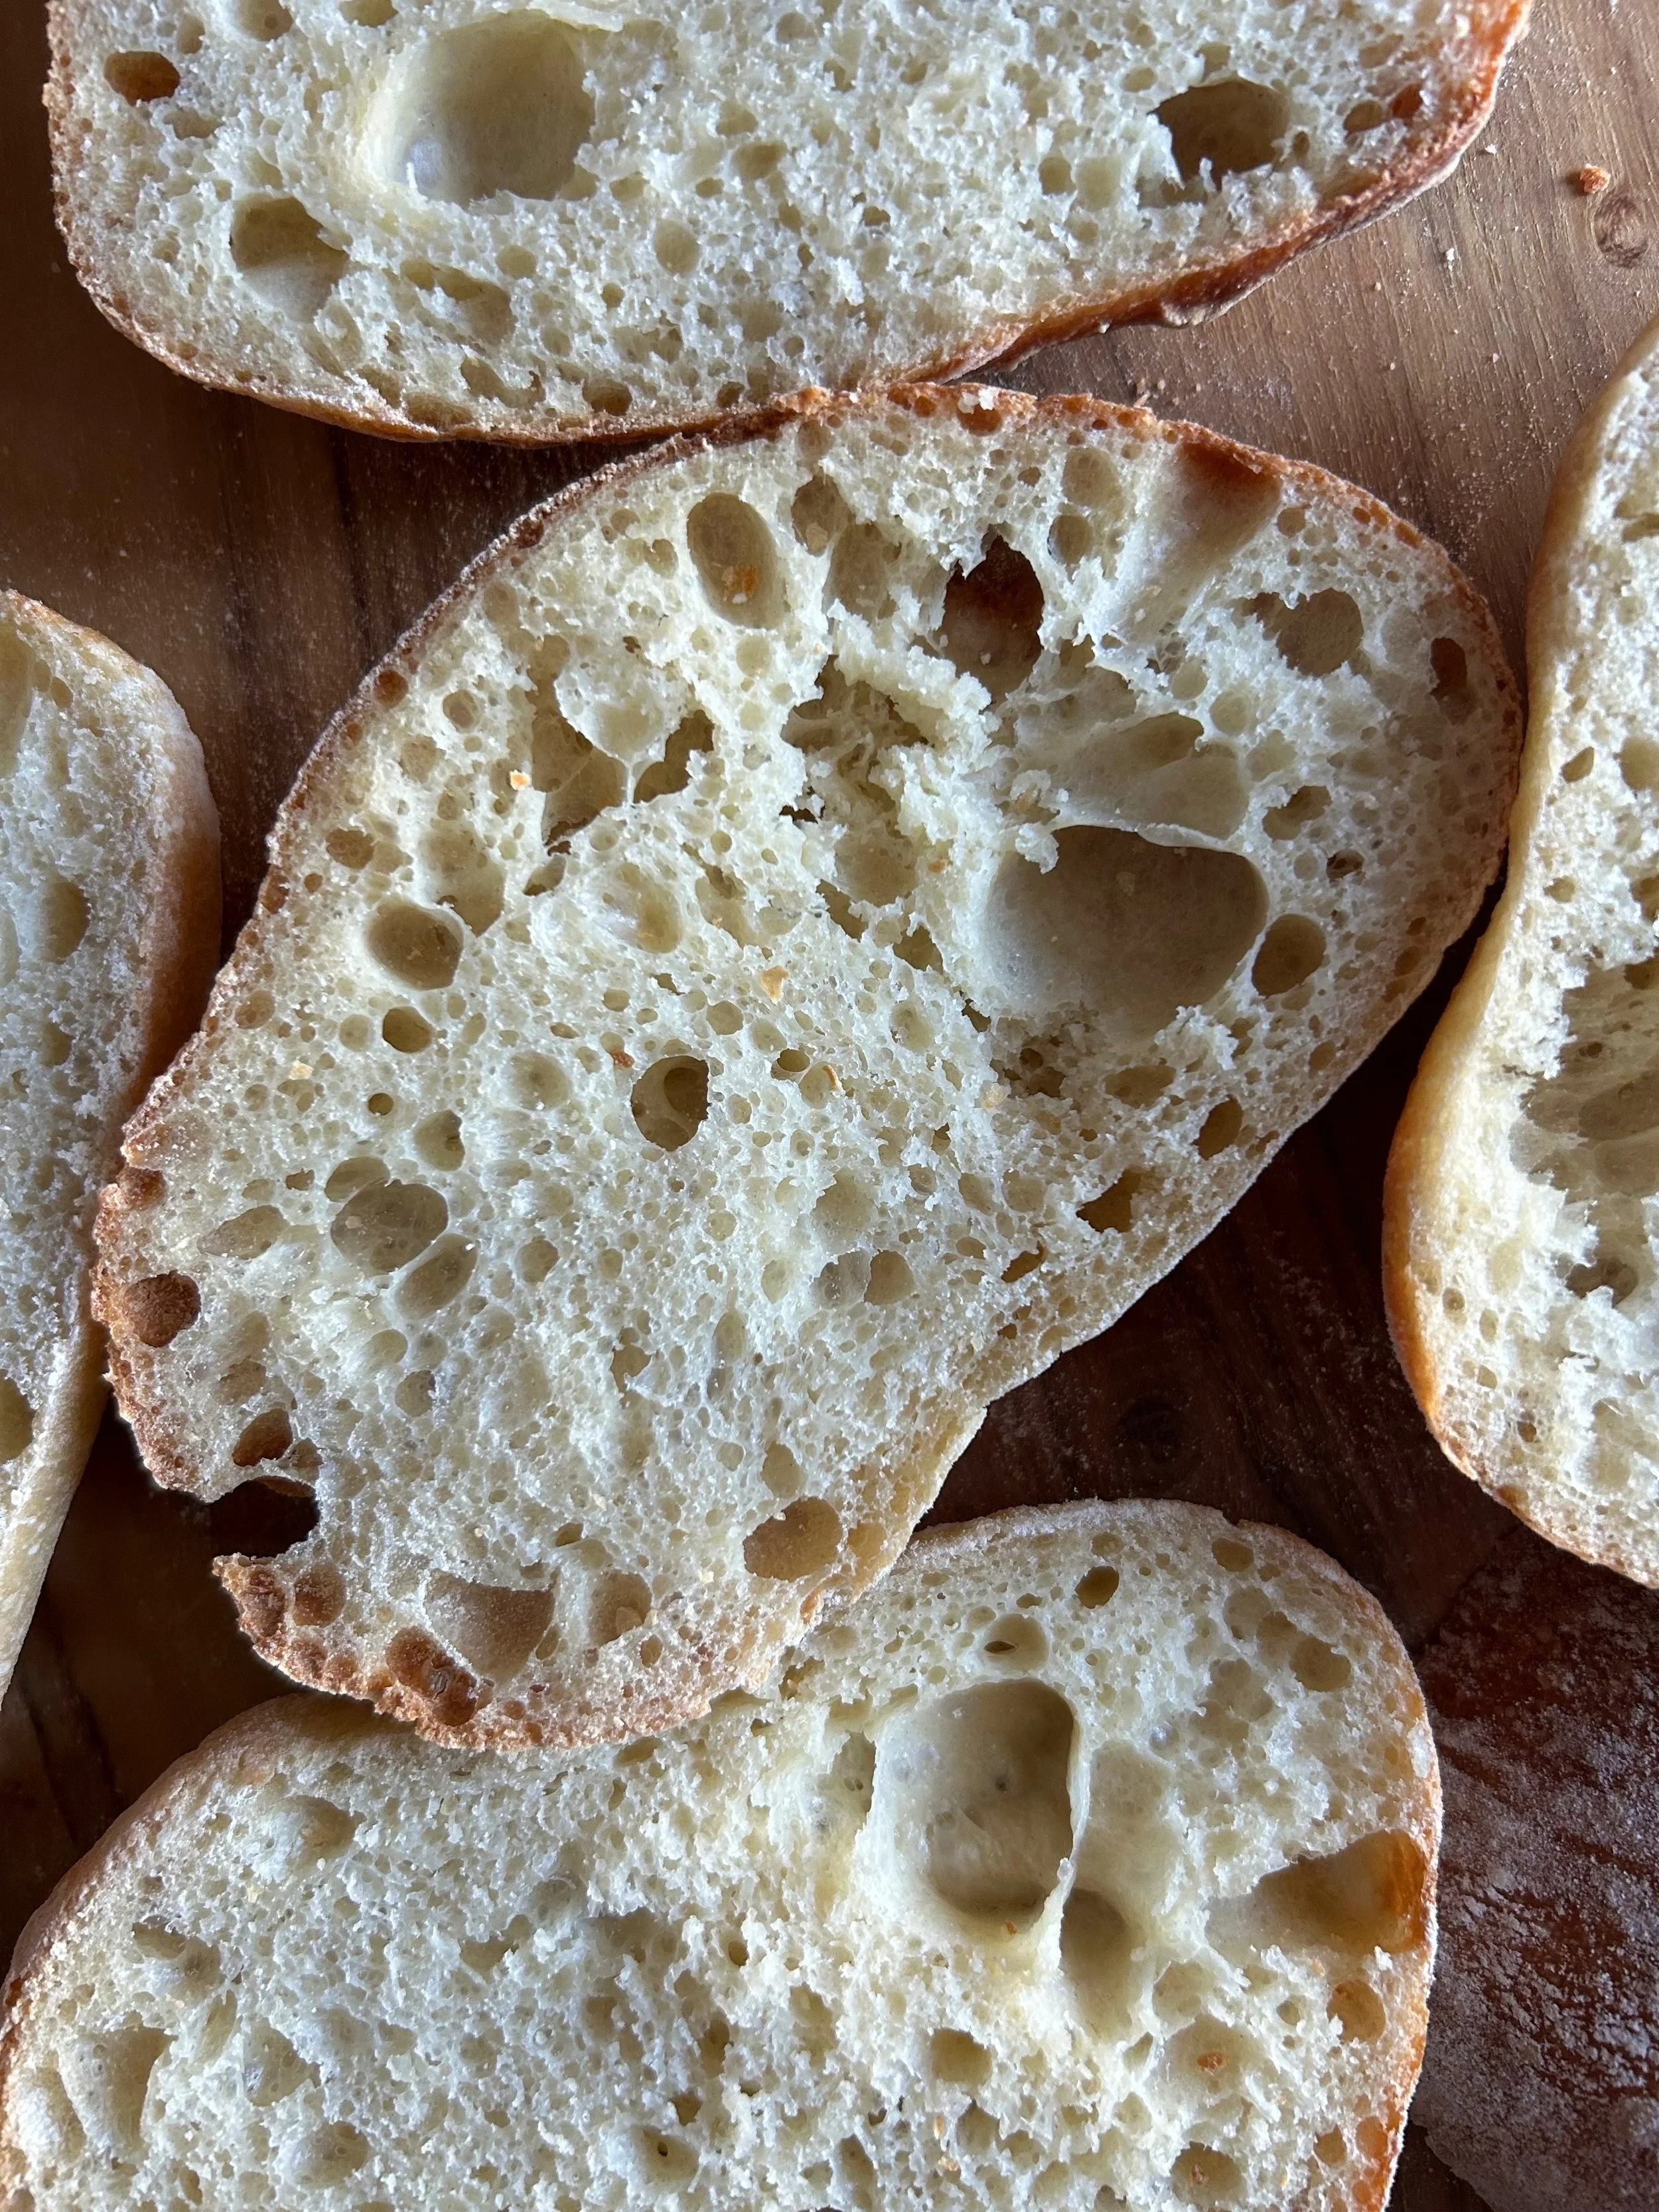
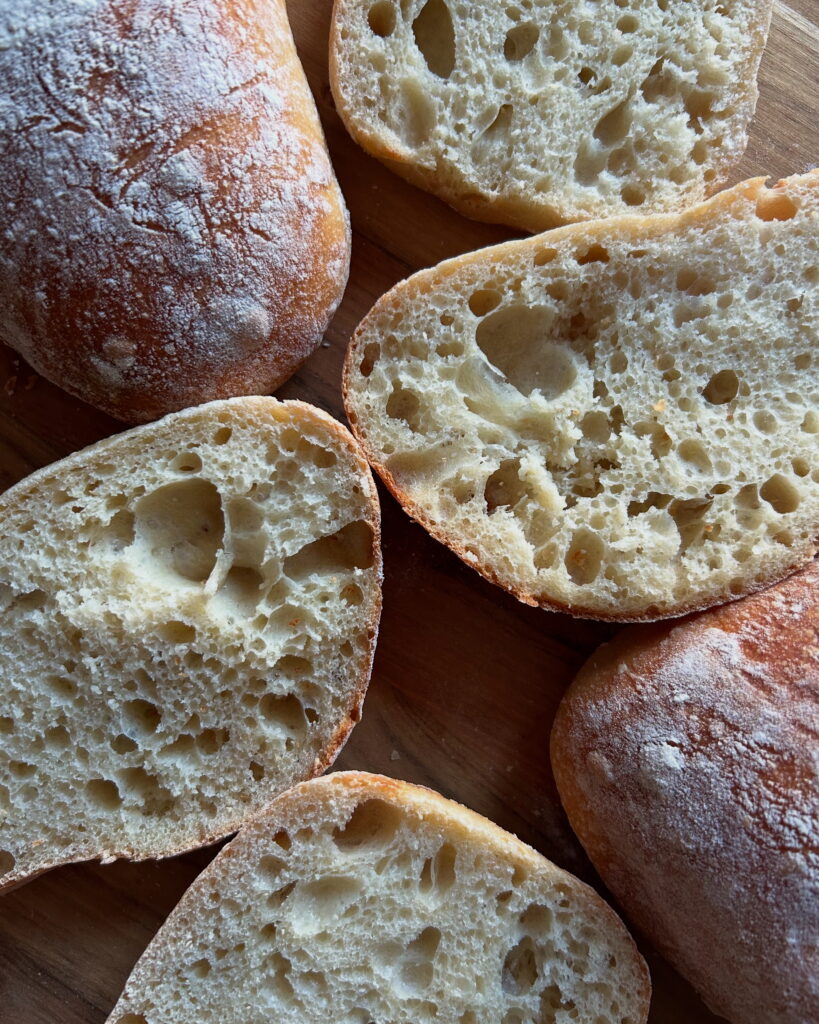
🥖 The secret to an open crumb
Because traditional Italian ciabatta relies on a very high water content, your mixed dough will look much wetter and stickier than a normal bread base.
Avoid the temptation to dump extra flour into your bowl. Keeping this loose consistency is the ultimate secret to achieving those large internal holes.
As the wet dough rests overnight, the water hydrates the starches completely while the active dry yeast creates tiny pockets of trapped steam.
When the dough finally hits the intense heat of your oven, that trapped moisture expands rapidly to lift the flour into a light, pillowy structure.
This dramatic steam expansion is exactly what gives the rolls their signature thin, crispy outer crust and an incredibly soft, airy interior.

Delicious simply dipped in good-quality olive oil, these Rustic No-Knead Small Batch Ciabatta Rolls are perfect for making homemade garlic bread and an amazing base for sandwiches through the week.
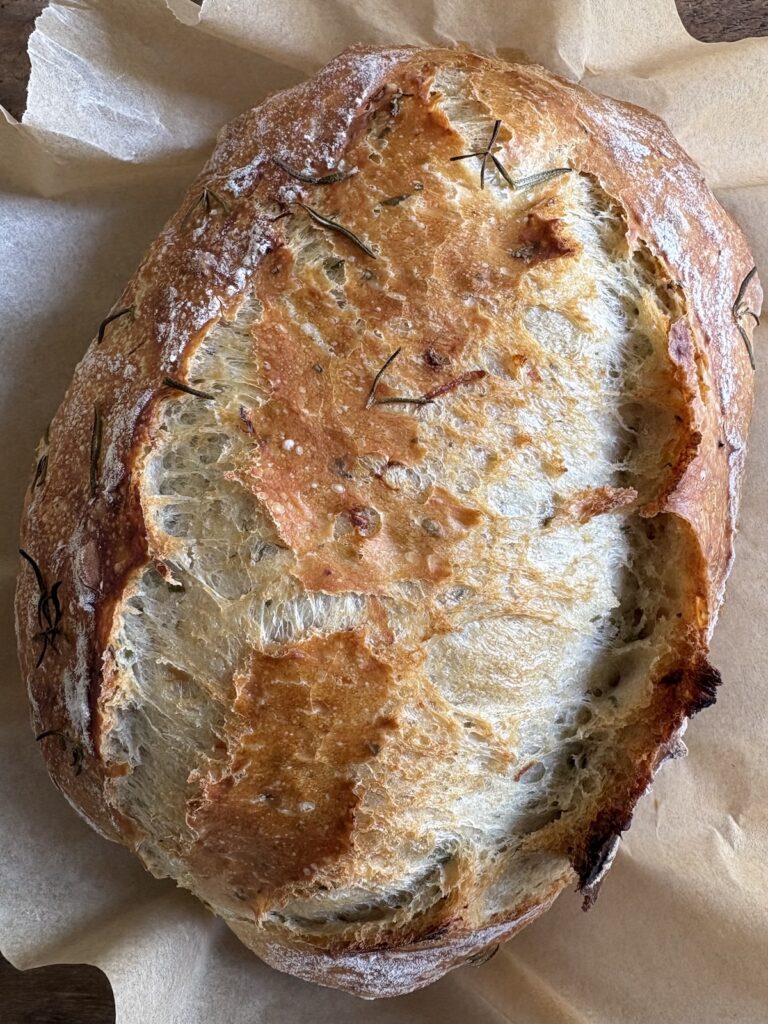
Try this beginner-friendly No-Knead Rosemary & Roasted Garlic Artisan Bread or this No-Knead 4-Ingredient Artisan Pizza Dough recipe next.
Did you make this recipe?
If you tried this recipe, be sure to rate it and leave a comment below! You can also tag me with your creations on Instagram, save this recipe to your favourite Pinterest boards for later, or connect with our Facebook community if you prefer updates there.

Rustic No-Knead Small Batch Ciabatta Rolls
Ingredients
- 2½ cups bread or all-purpose flour
- 1 1/3 cups water
- 1 teaspoon kosher or fine sea salt
- 1 teaspoon active dry yeast
- 2¼ teaspoons extra-virgin olive oil
Instructions
Make the dough
- In a medium-sized mixing bowl, add water and yeast and let rest for 10-15 minutes. Add salt, olive oil and flour and mix until all the flour has been absorbed. Note that this is a hydration dough, and it will be sticky and wet to the touch. Transfer dough to an 8×8-inch glass covered baking dish (or similar), cover and let rest for 30 minutes.
- With damp hands, perform 1 set of stretch and folds and let rest for another 30 minutes. *I’ve included notes below in case folding is new to you.
- Next, with damp hands perform 2-3 coil folds and let rest for 30 minutes between each fold.
- Cover and place in the fridge overnight for at least 12 hours or as long as 18 hours.
Shape the rolls
- Once ready to bake, prepare lightly floured parchment sheet and turn the dough out onto a well-floured work surface. Sprinkle more flour across the top then flour your hands or a bench scraper and scooch the edges of the dough into the shape of a rectangle.
- Using a bench scraper or a sharp knife, divide the dough into 4 equal portions then gently lift and transfer them onto the parchment, spacing them a few inches apart. Cover with a dry tea towel and let rest for 2 hours for a final proof or until they’ve doubled in size.
Bake ciabatta
- Fill a cast iron skillet or baking pan with 3 cups water and place it in the bottom of your oven. Preheat oven to 450ºF (230ºC).
- If using a baking steel, use a pizza peel or the back of a baking sheet to slide the parchment paper with the ciabatta rolls onto the baking steel.
- Bake for 22-24 minutes until golden. You will know the bread is done when it sounds hollow if you tap on the bottom. Let cool completely before slicing and serve.


I doubled the recipe, but followed it exactly. I’ve made baby ‘battas before, but these were my best ever. My family ate them all right up, so I’ll be making more very soon. Thanks for an excellent recioe!
Hi Rebekah! So glad you enjoyed the recipe, thank you for this kind review! K