No-Knead Jalapeño Cheddar Artisan Bread
Last updated on July 2nd, 2026
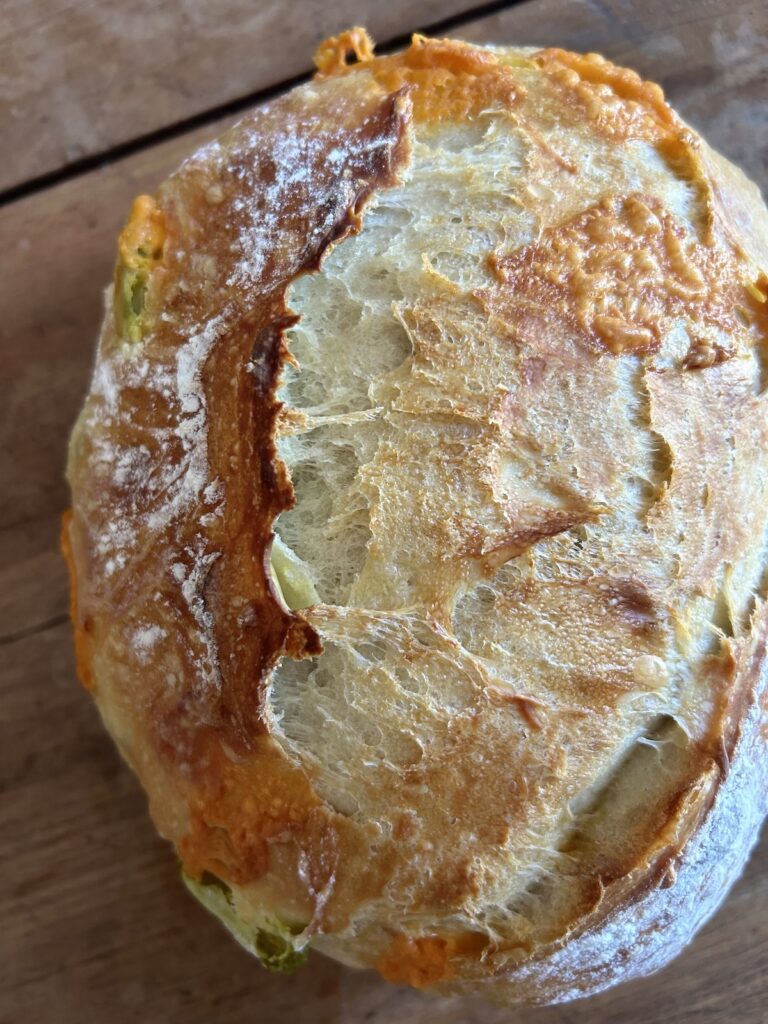
Beginner friendly, this bakery style Jalapeño Cheddar Artisan Bread has amazing flavour. It’s a little spicy with pockets of melted cheese and a crackly, golden crust!
Using my No-Knead Everyday Artisan Bread as a starting point, the cubed cheddar and pickled jalapeños are folded into the dough just before the cold proof to create the most deliciously melty, cheesy pockets.
Here’s everything you’ll need to make it
- 1½ cups water (360 grams), room temperature (at or near 70°F/21°C)
- 1 teaspoon (3 grams) active dry yeast
- 3½ cups (455 grams) bread flour, plus more for dusting
- 1 teaspoon (3 grams) kosher or fine sea salt
- 50 grams (a little under ½ cup) cheddar cheese, cut into ¼ x ½-inch cubes
- 1/3 cup (30 grams) sliced pickled jalapeños, drained and patted dry with a paper towel to remove excess moisture
Ideally, you will also have:
- Digital scale
- Dough scraper
- Parchment paper
- Razor blade or very sharp knife
- Dutch oven such as this one or this one
New to working with yeast? Reference my Baking with Active Dry Yeast guide for answers to common FAQ’s.
You can read more about why you will achieve your best results using a Dutch oven here.
Pickling the jalapeños both enhances their flavour and softens their texture, making them ideally suited for baking. You can use any kind you like for this recipe – some are a little spicier than others – or simply adjust the quantity according to taste.
🧀 The cubed cheese trick
Cubing the cheese for no-knead loaves helps prevent it from reaching the surface of the dough too early!
Most cheese bread recipes call for shredding the cheese, which can result in burning.
If you don’t have cheddar, Gouda and Havarti are both delicious alternatives.
A note on substituting alternative flours
I’ve made several versions of this recipe and discovered that you can double both the cubed cheddar and the jalapeños if you bake with bread flour. Alternative flours, however, lack the structure to hold up to additional add-ins so be sure to follow the quantities recommended below if using all-purpose flour or a gluten free blend.
How to make No-Knead Jalapeño Cheddar Artisan Bread in 5 steps
- Mix the dough.
- Cover and let it rise until it has doubled in size.
- Add cheese, shape your dough and dust with flour.
- Cover and proof the dough in the fridge overnight.
- Turn dough out onto a floured surface, re-shape if needed, score it and bake.
You can learn more about the benefits of cold proofing no-knead artisan breads in this post Artisan Bread Basics: How Cold Proofing Changes the Game + Answers to FAQ’s.
Baking schedule
Making this Jalapeño Cheddar Artisan Bread is a two-day process where the bread is mixed and prepared on day one, cold proofed in the fridge overnight, then baked on day two.
This is what it looks like:
Saturday morning: Mix dough, cover and let rise.
Saturday afternoon or evening: Shape dough, cover and put it in the fridge.
Sunday morning, afternoon or evening: Remove dough from the fridge and prepare to bake.
This beginner-friendly No-Knead Jalapeño Cheddar Artisan Bread is delicious served with soups, stews or your favourite chili, and it makes the most amazing breakfast sandwiches. That bubbling cheddar cheese is EVERYTHING and your kitchen will smell amazing as it bakes!
Try these 30-Minute Jalapeño Cheddar Drop Biscuits or this beginner-friendly No-Knead Green Olive and Rosemary Artisan Bread next.
For more tips and helpful information, reference my Artisan Bread Basics Series + Answer to Common FAQ’s.
Did you make this recipe?
If you tried this recipe, be sure to rate it and leave a comment below! You can also tag me with your creations on Instagram, save this recipe to your favourite Pinterest boards for later, or connect with our Facebook community if you prefer updates there.
No-Knead Jalapeño Cheddar Artisan Bread
Ingredients
- 1½ cups water room temperature (at or near 70°F/21°C)
- 1 teaspoon active dry yeast
- 3½ cups bread flour, plus more for dusting
- 1 teaspoon kosher or fine sea salt
- 50 grams (a little under ½ cup) cheddar cheese cut into ¼ x ½-inch cubes
- 1/3 cup sliced pickled jalapeños drained and patted dry with a paper towel to remove excess moisture
Instructions
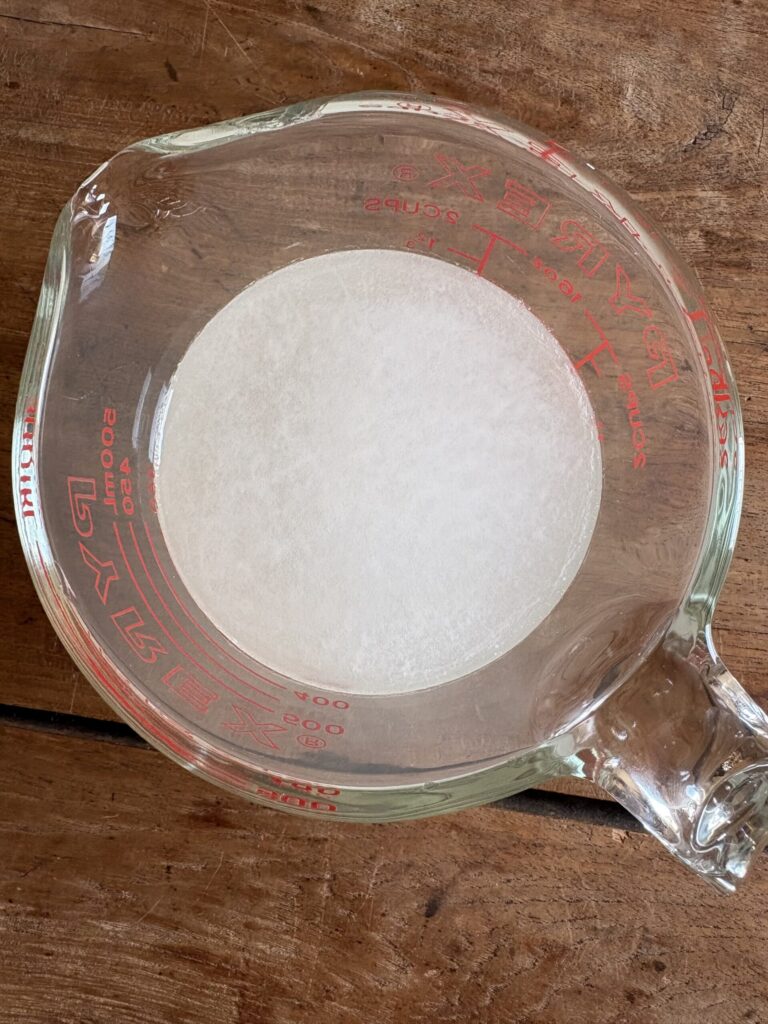
- Sprinkle the yeast over the water and let it sit for 10-15 minutes. In a large bowl, whisk together flour and salt and let sit for 10 minutes.
- Add water and yeast to the bowl then use a rubber spatula to mix it together just until combined. The dough will look a little sticky and stringy and there should still be a little flour around the edges of the bowl.
- Cover and let rise somewhere warm until it has doubled in size (see note below).
- Once the dough has doubled in volume, use your hands (or a dough scraper if you have one) to pull the dough out onto a floured surface. With floured hands, gently fold the dough into itself several times just until it holds together. Next, carefully stretch and smooth out dough into a rectangular shape and distribute Parmesan cubes and sliced jalapeños across the dough, pressing them into the surface just enough so that they won’t move. Roll up dough into a log shape, adding bits of flour as needed to prevent sticking, and fold the ends underneath. Sprinkle with a little more flour and continue to gently shape the dough just until a flour-covered loaf is formed. Lift and place the dough into a flour dusted bowl.
- Dust with flour, cover and refrigerate overnight. You can even leave it for as long as 48 hours at this point if you’re not able to bake it right away.
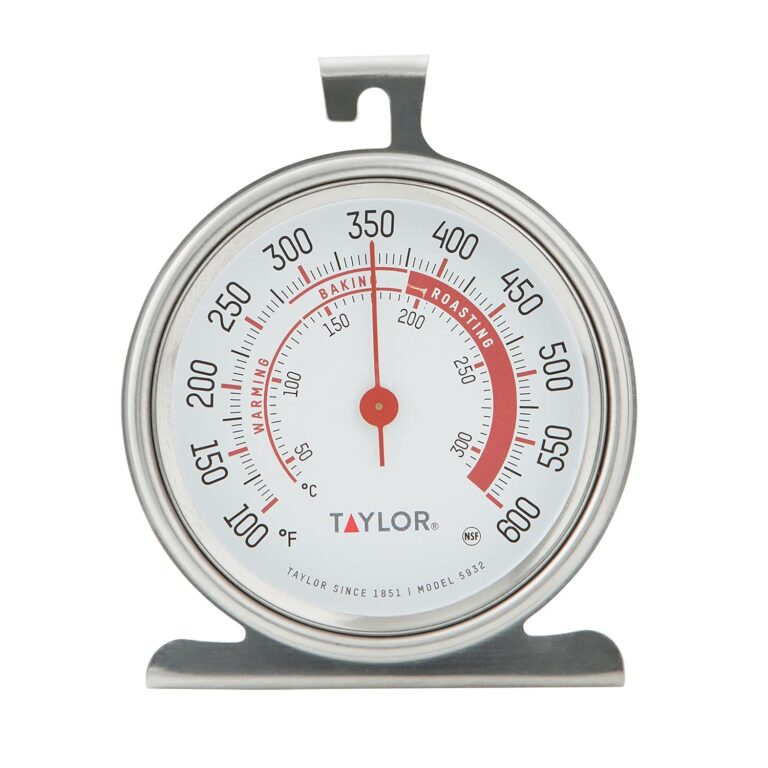
- When you’re ready to bake your bread, preheat oven to 450ºF (232ºC) with your Dutch oven inside the oven.
- Once the oven is preheated, turn the dough out onto a lightly floured surface. If needed, gently turn it with your hands and nudge it into the shape of a loaf. Place it on a sheet of parchment paper and score the top with a razor blade or the tip of a sharp knife with a design of your choosing. This will allow steam to escape while it’s baking.
- Remove the Dutch oven from the oven and transfer the dough, still on the parchment, into the Dutch oven. Cover and bake for 30 minutes, then remove the cover and bake for 15-20 minutes more. Your bread will be done once the top is browned, and it sounds hollow when you tap the top.
- Using parchment edges, lift bread from Dutch oven and transfer it to a wire cooling rack to let cool for up to an hour before slicing.


If I wanted to take this recipe and make two mini loaves, what do you think the time and temp to bake might be?
Hi Leslie! To divide into two smaller loaves, I recommend reducing bake temp to 425º then bake covered for 20 minutes. Uncover and start checking for doneness after an additional 10 minutes using the tips provided in the notes. Thank you!
Parmesan chunks?
Yes, that will work! You might also want to check out my rosemary parmesan artisan bread recipe. Hope you love! K
Have a question! I’ve found a lot of people who make bread , but they seen to differ on the size of pots that they use. Anywhere from 3qts all the way up to 7qts! My 1st attempt at making bread and it’s just so confusing to me. Was hoping someone could be mor specific!
Hi Cindy! 3Qt/3L is the minimum requirement for my recipes. They will all work well with larger vessels as long as they’re well-covered to hold in the steam. Hope that helps!
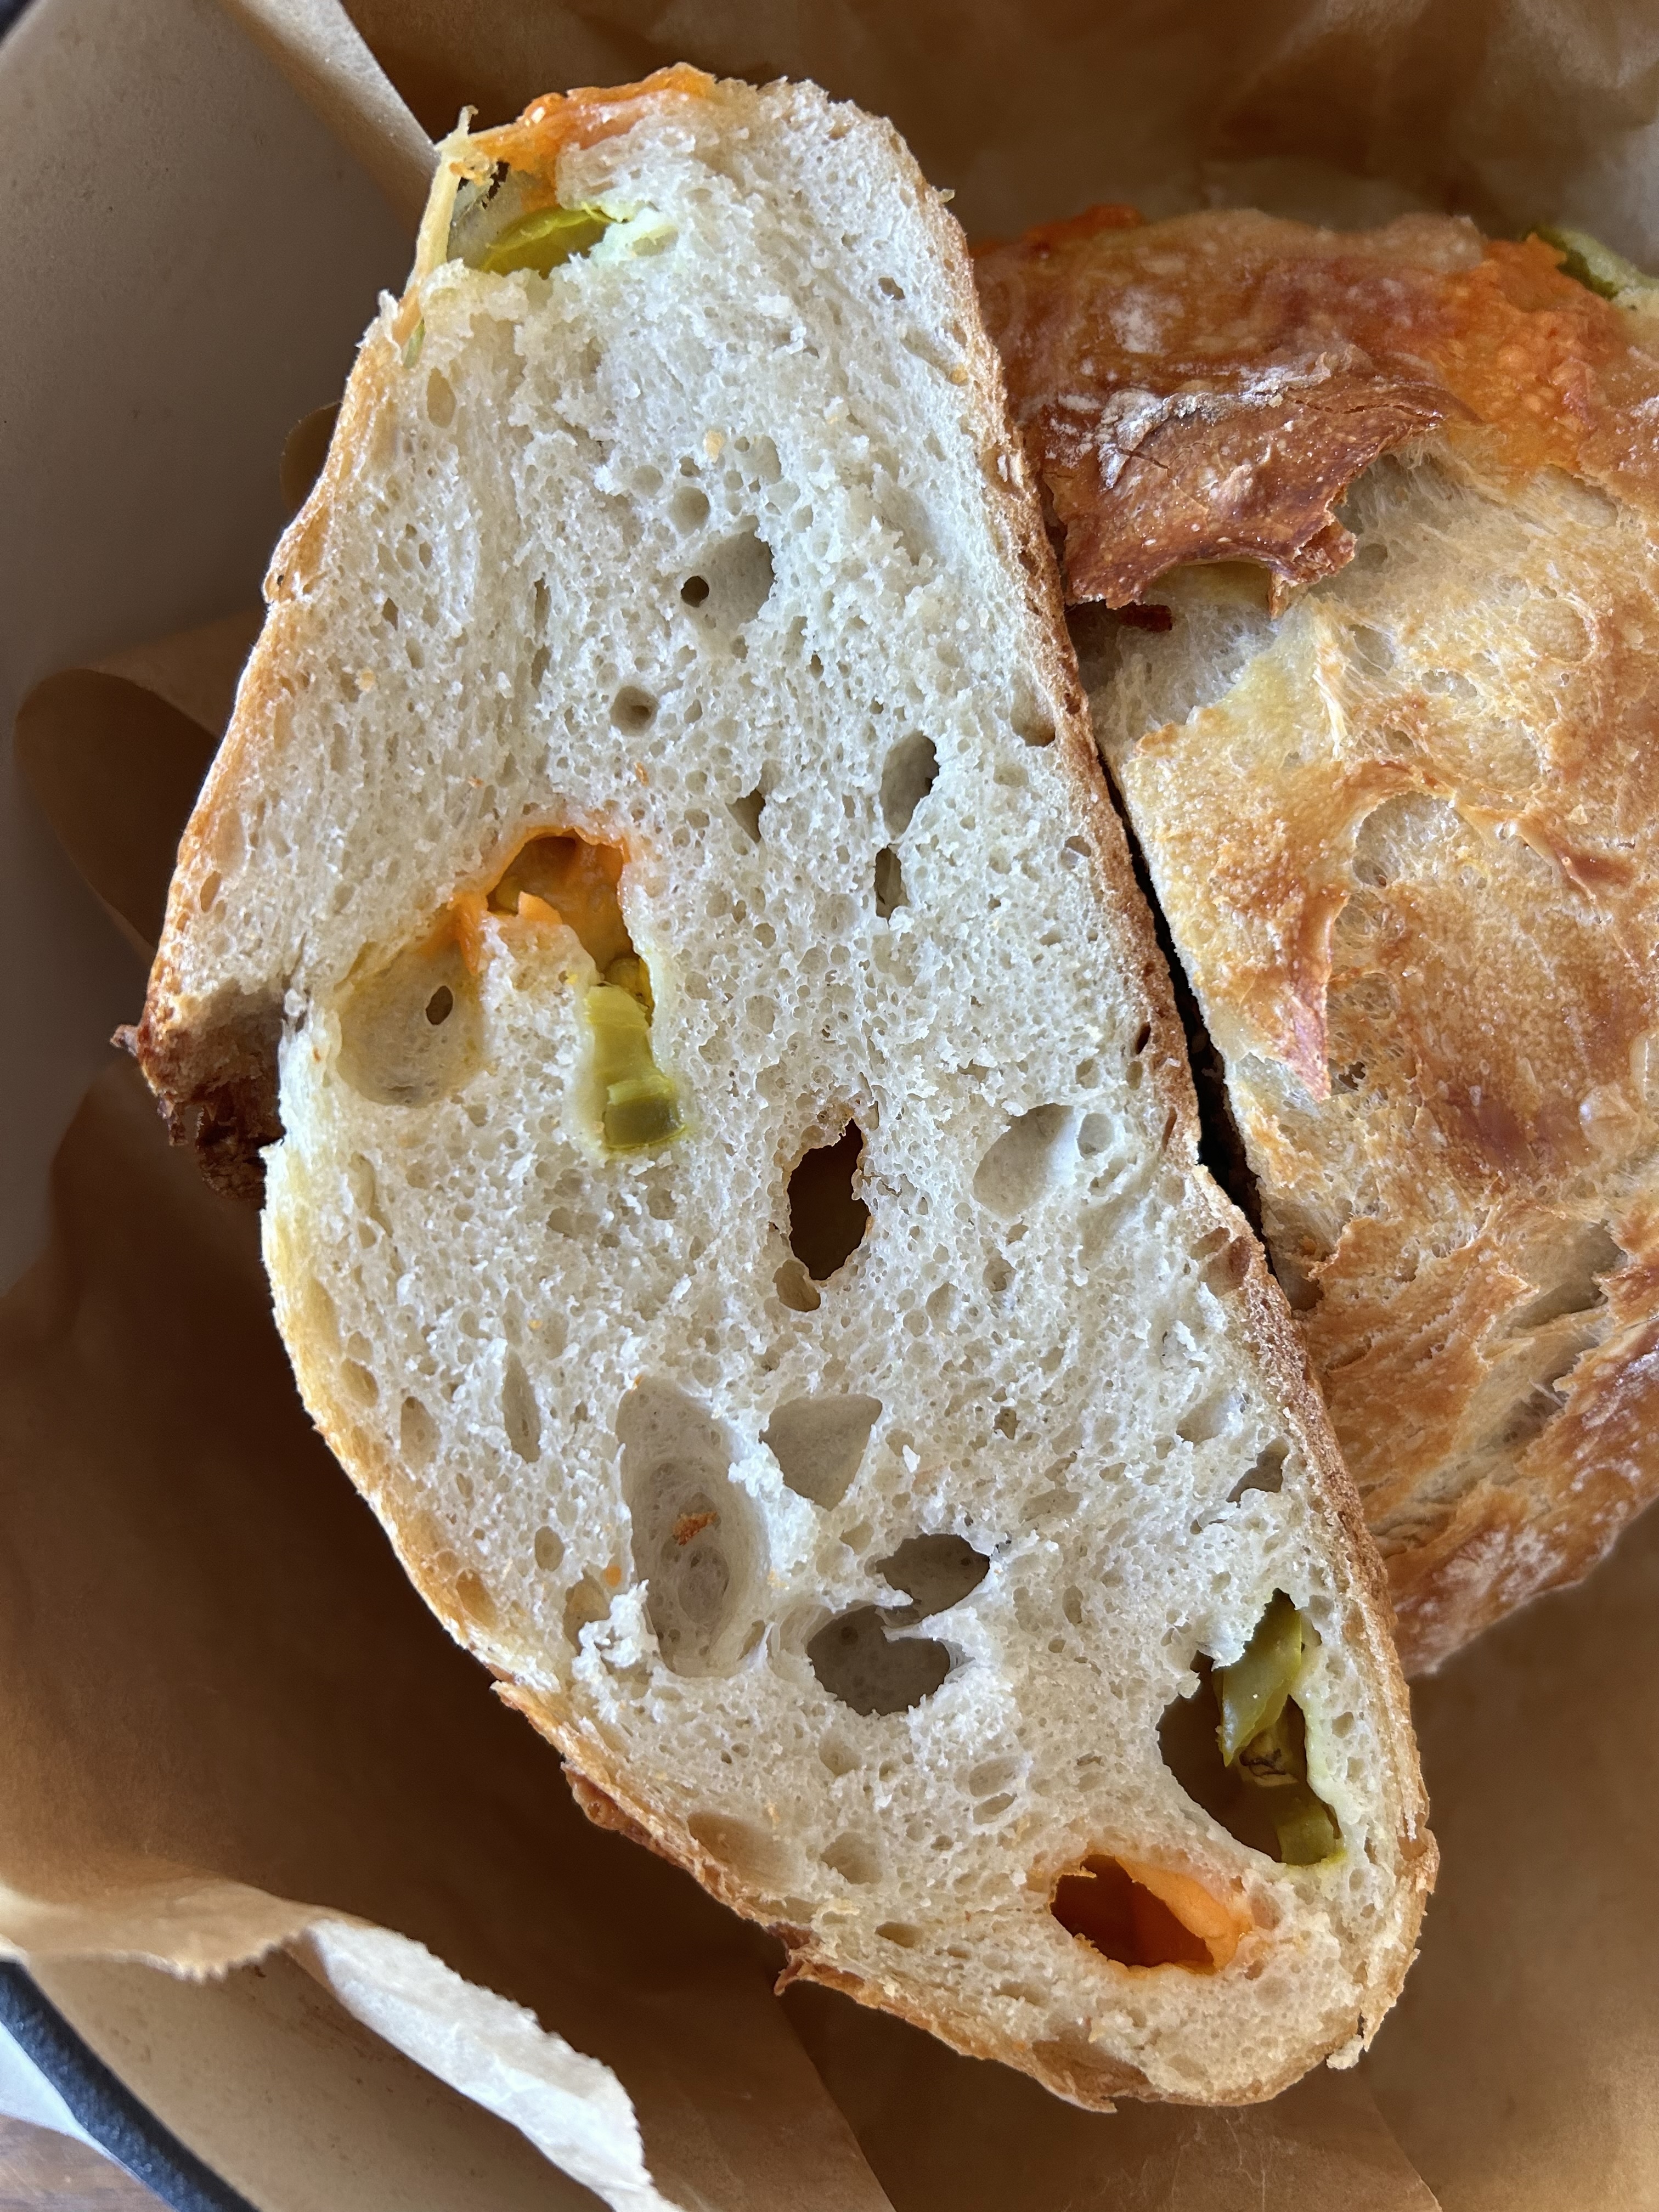
Love the recipe. I was wondering what I can do to prevent big holes in the bread from the jalapeños.
Good morning Ann! You can simply chop them into smaller pieces the way I do for my Jalapeño Cheddar Drop Biscuits. I’m so pleased you enjoy the recipe, thanks so much for sharing your review! K